")
")
In-house communication
Module In-House CommunicationM
Bp Event offers many ways to simplify internal communication. Records such as events, items, etc. are linked to an internal message and can be called up immediately by the recipient or transferred directly to colleagues.
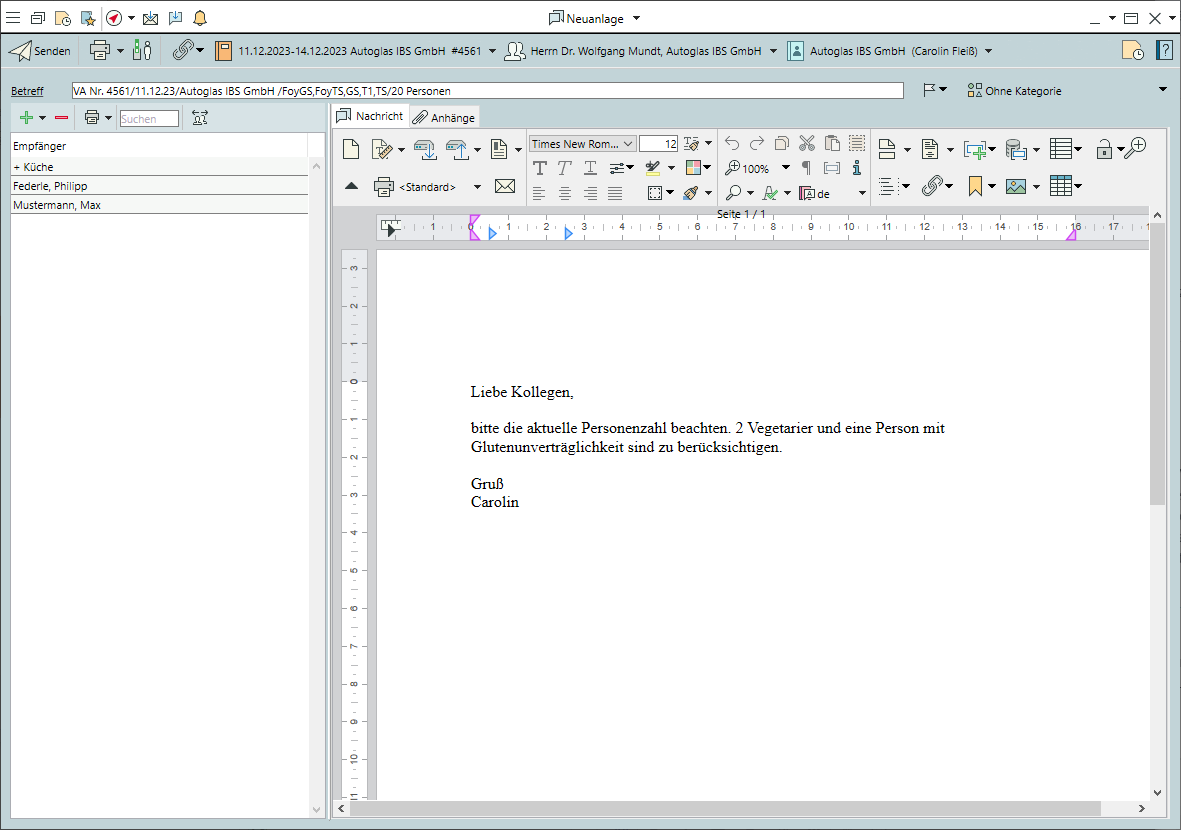
Write an internal message
Internal messages can only be sent by a Bp Event user to other Bp Event users. Colleagues who do not have access to the programme and contacts outside the company can be reached by email.
- Go to
 Internal messages at the top of the title bar.
 - Click on
 New. The input window for the internal message opens.
 - Enter at least the Subject of the message.
- Double-click to Add an individual Recipient from the list.
- Select multiple Recipients by left-clicking while holding down the Ctrl key and
 Confirm.
 - Select a
 >
>  Distribution list.
 - If you set the priority to
 High , the recipient is notified of receipt with a message and the message is listed in the reminders until it is read or marked as completed.
 - Click on
 Send in the toolbar to send the text message.
Write an internal message from within a record
Internal messages can be sent directly from some records to inform colleagues about, for example, details of an event.
- For example, open an event, account or appointment.
- Left-click on Internal messages in the toolbar. Depending on the type of record, various linking options are offered.
- Select a link to the event, account or contact person, for example.
- The subject line of the new internal message is pre-assigned with the most important data and the link(s) are displayed in the message toolbar. From there, the recipient can open the records by left-click.
Write an internal message to a user group
Certain user groups can be activated by the administrator as recipient groups for internal messages and can be expanded into individual recipients on request.
- Click on New, select a + group and Confirm.
- Expand: Each group member is notified as an individual recipient independently of the others. Each recipient only reads and deletes the message for themselves. This ensures that all recipients receive the message as "new".
Example: All group members need to be informed that an event has been cancelled. - Do not expand: The message is sent to the group as a unit. As soon as one group member reads the message, it is marked as "read" for all, and deleted for all by deleting it once. This is useful if a message only needs to be received by at least one group member.
Example: Different members of the Banqueting department are assigned to answer internal messages every week.  Send the message.
Send attachments
Other documents can also be attached to internal messages.
- In the internal message, go to the
 Attachments tab and select New.
 - An input window for a new document package opens.
- Assign a Name to the document package.
- Select externally stored files from your hard drive by clciking >
 Files .
 - Click on >
 Attach Shared Documents to select files that are stored in the Shared Documents folder.
  Save and close the document package.
- Send the message.
Pass records
You can also transfer records directly with a short note to other Bp Event users who are logged in at that moment.
Example: A telephone call is put through to a colleague and the customer account that has already been opened is passed.
- In the open record, click on the expand triangle next to
 Save and select
  Save and pass.
 - Select the user from the picklist, enter a short text if necessary and confirm by clicking Pass.
- The recipient receives a message that a record is to be transferred and can either accept or reject it.
- As soon as the data record has been opened, you will receive a confirmation.
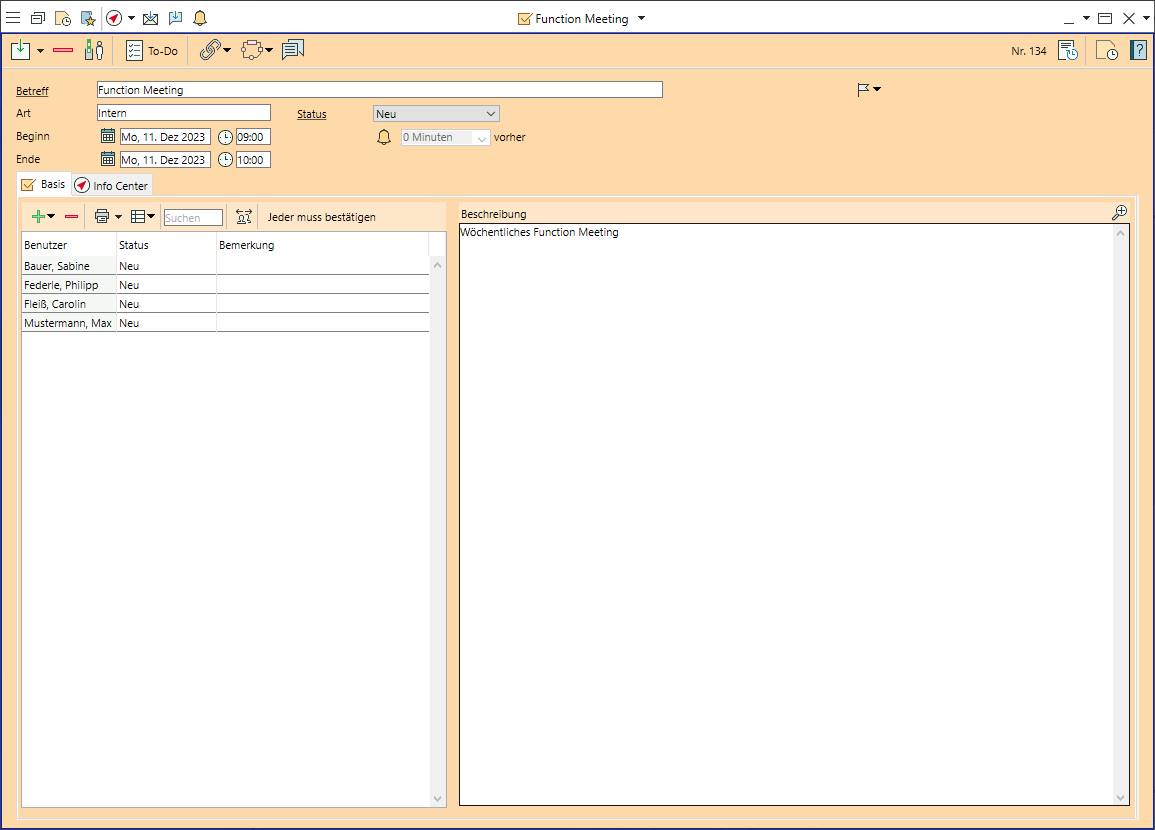
Create tasks for others
You can create tasks to remind yourself or colleagues of certain to-dos at specified times.
Example: The customer requested the event manager to call them back on Thursday at 10 am.
- Go to the
 Home tab and select
  Tasks or open any record and click on > Task in the toolbar.
 - Fill in at least the Subject and theDate . These are already pre-filled for linked activities.
- Select one or more task assignees and Confirm the selection.
- The creator of the task is always automatically selected as assignee, but can be changed manually.
- Activate a
 Reminder by left-clicking on the bell and specify how long before the task the reminder should be displayed.
  Save your input by clicking on the icon in the top left-hand corner of the input window.
Module Multi-Users