")
")
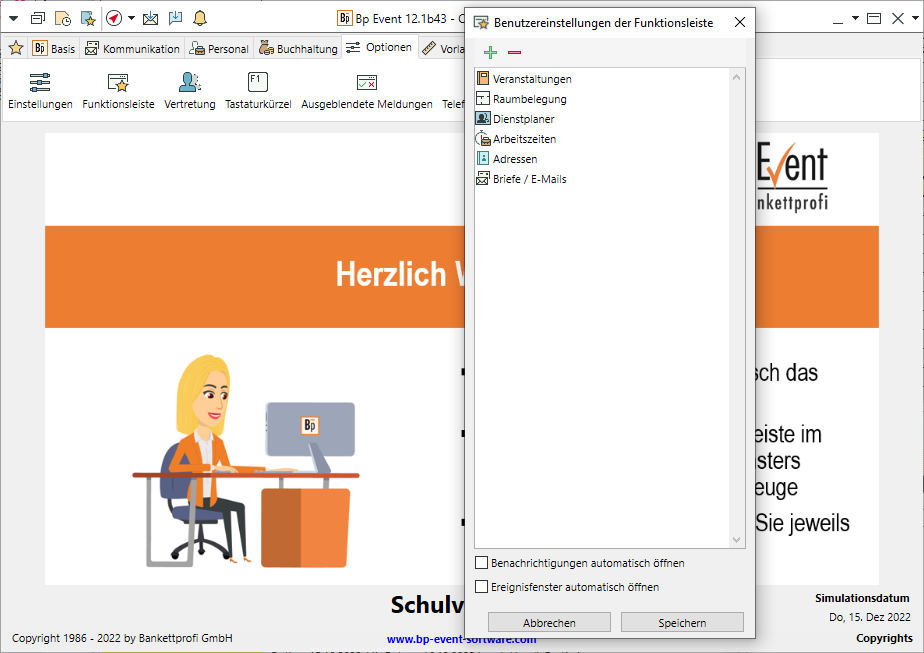
Customise the function bar and user settings
Customise the function bar
- Go to the
 Options tab and click on
  Function bar to create a tab with your favourites.
 - Click on Add to save all the functions or records you want to a new
 Favourites tab, which will appear to the left of the other tabs.
 - Activate the automatic opening of the reminder window.M at the bottom of the pane.
Use the quickpicks
The Quickpicks for the most important functions can be accessed from anywhere in the top left-hand corner of the input window..
- Click on
 to open the function bar from any interface.
 - Click on
 to open a list of all currently open data records.
Alternatively, use the keyboard shortcut F3. - Click on
 to call up your most recently opened data records.
 - Open your
 Email inbox or the
  Internal messages. The adjacent number indicates the number of unread messages.
 - Use the
 Favourites directory to access directories, documents or websites that are of major importance to you personally or your company. Add further favourites by clicking on
  Add .
Add . - Open the
 Info Centre including the Calendar and Follow-ups.
 - Add more tabs for other views, lists, websites etc. to the Info Centre on the
 More ... tab by clicking Add.
 - Open customised Info Centre lists by clicking on

 .
. - View all due
 Reminders in a window that remains open and in the foreground until you actively close it.
Define user settings
- Set individual window colours, window size and position by clciking on next to the window title.
- Enable the
 Auto-start option if you want a window to open as soon as the apploication is started.
 - You can define further user-specific
 Settings on the Options tab.
 - Specify the number of recently opened records you want to show.
- Select or deselect Security prompts, Tooltips or Spell check.
- Select your personal start screen image.

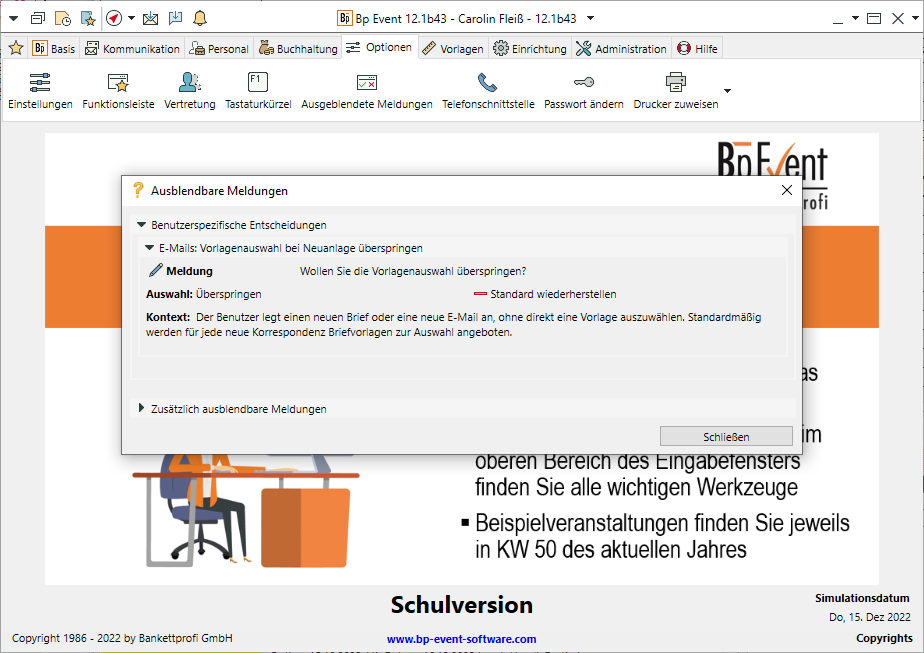
Save decisions
- Go to the Options tab and click on
 Hidden messages.
 - View all the hideable
 Messages. Then activate Save decision and do not show message again before selecting on your standard response.
 - Save your decisions either for your company (if you are authorized) or for your user.
- Undo these decisions by opening the Message and selecting
 Restore default.
Assign a delegateM
- Go to the Options tab and select
 Delegation > New.
 - Enter the name of the User who is delegating and the name of the Delegate, or Delegate group. If you are authorised, you can also create delegations for other users.
- Enter the Period for which the delegation applies.
- Tick the respective boxes to authorise the delegate to access Confidential data, Emails or Internal messages.
- Notify the representatives of their status automatically when they log in to Bp Event.
Module Multi-Users, Holiday/Special events