")
")
Writing and Sending Mail and Emails
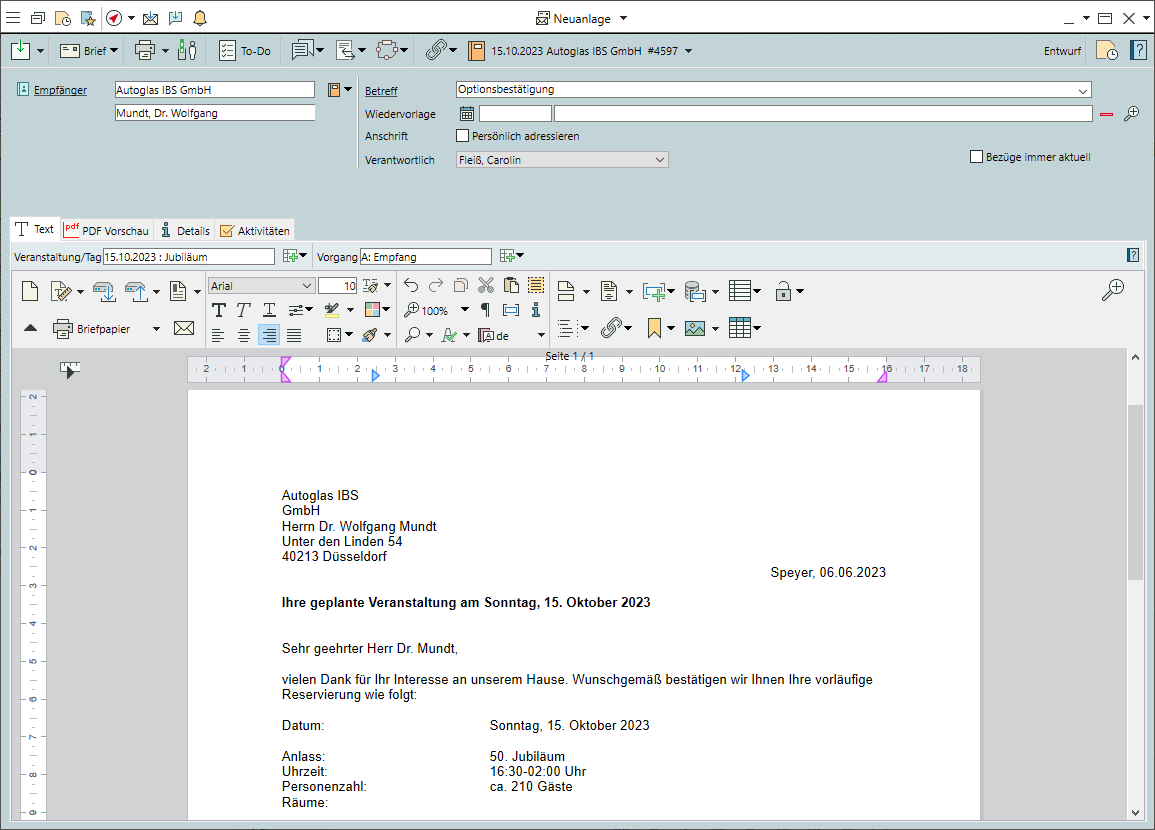
Create a mail
- Go to the
 Communications tab and click on Mail >
  New or create mail directly from within an account or event.
 - Double-click a text template or continue Without template .
Note: The template selection can be hidden by clicking Do not show again .
 - Enter the recipient Name and press Enter. Double-click an account from the list of results to select, or create a
 New account.
 - Enter the Subject of the mail.
- Enter the body text, or
 Insert images from the
  Gallery,
  Clipboard,
  Contact,
  Item or
  Hard disk)
 - Select stationary by applying

 Output Settings.
 - Click on Print in the upper left-hand corner of the toolbar.
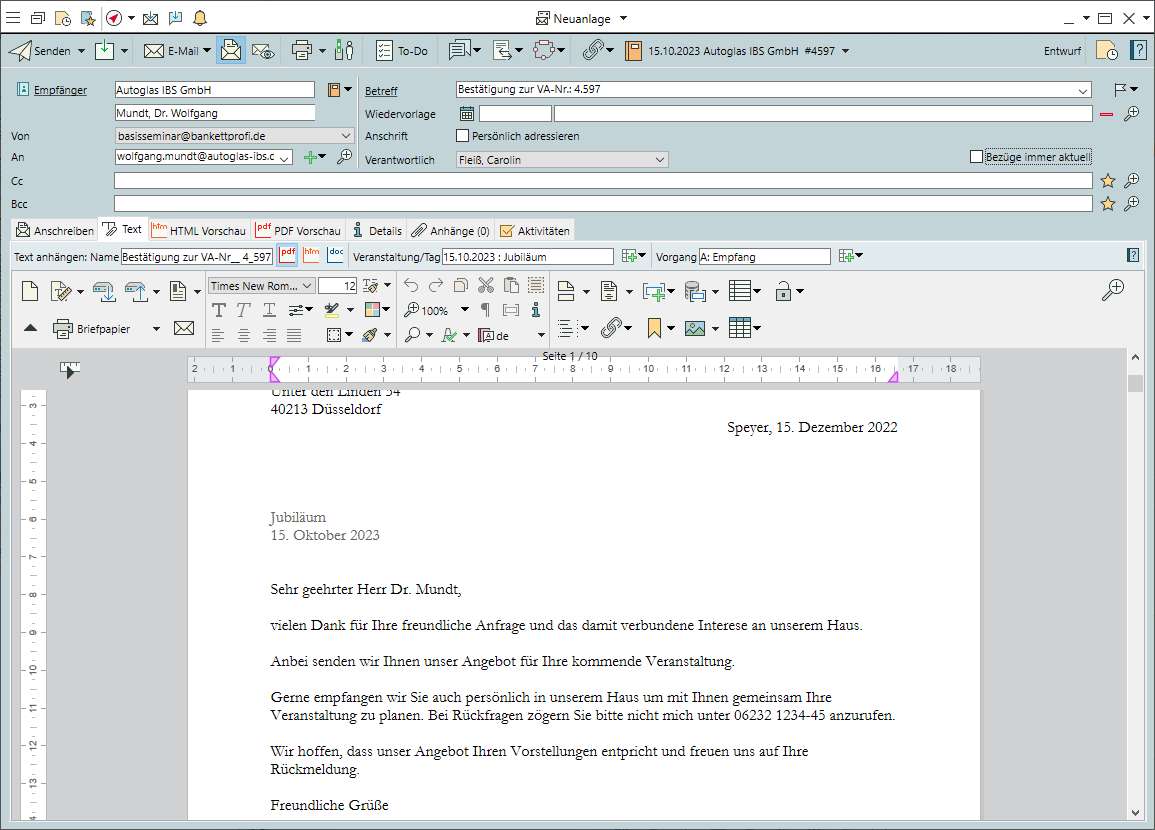
Create an email*
- Go to the Communications tab and click on Mail > New or create an email directly from within an account or event.
- Click on the expand triangle next to
 in the toolbar and select
  Email as the dispatch type. New input fields for email sender (From) and recipient addresses (Recipient, To, Cc, Bcc) will appear.
 - To send an email to a recipient who has not been entered in the database, enter the email address in the To field.
- Select a
 Distribution list or create a
  Recipient list on-the-fly.
 - Use the
 Attachments tab to Add files (Bp event documents, external files, business cards or calendar entries) as attachments to the email.
 - Click on
 Send.
Send.
Keep references up to date
- Click on
 4D Expressions in the toolbar to see all databse references (p.ex. Letter salutation, Recipient, Current Date).
 - Enable the Refresh links option, if you want to update database fields on reopening a communication that has already been saved (salutation, current date)
- Be sure to untick the box before sending the mail to prevent subsequent falsifications.
Create an out-of-office reply
- Go to the Communications tab and select
 Out-of-Office Reply.
 - Enter your personal text for the automatic email.
- Activate the
 Out-of-Office Reply to have an automatic reply sent to every incoming email.
* Only if your Bp Event email account is enabled