")
")
Creating and Using Accounts
Create an account
- Go to the
 Home tab and select
 Accounts >
  New.
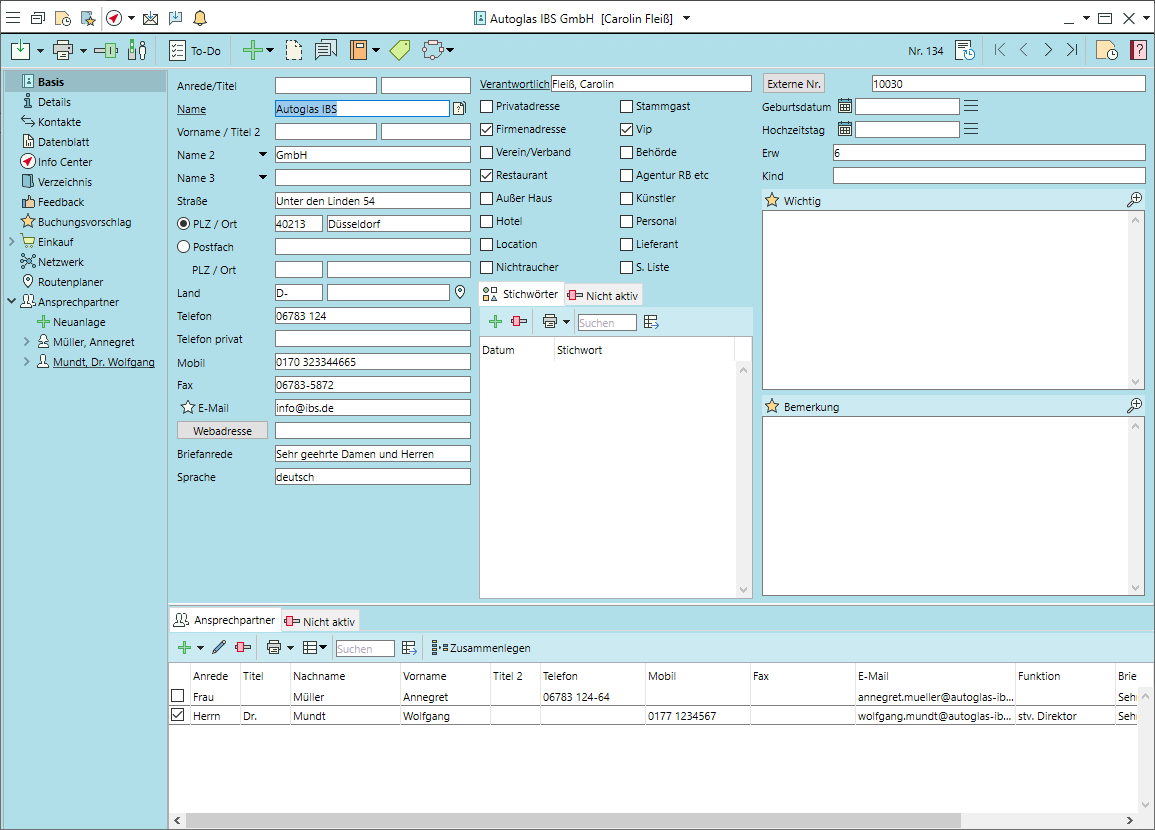
New. - Enter the company name or surname in the Name field and check for possible
 Duplicates.
 - Other mandatory fields such as email, phone or city are underlined.
- Select at least one Category per account.
Create a contact person
(Standard version)
- Stay on the
 General tab.
 - Go to the bottom part of the input window to Add any number of
 Contacts and their contact details.
 - Tick the first column to mark your primary contact person.
(with Module CRM plusM)
- In the side navigation, go to the Contacts tab and click on New.
- Enter home addresses, keywords or comments here.
- Mark contacts for your mailinglist (for mailings, newsletters etc.) and/or the primary contact person.
Document the origin of personal data (data collection)
- In the side navigation of the account or contact, go to the
 Use of personal data tab and select Data collection > New.
 - Select a Data use purpose and its Legal basis for data collection.
- Enter the Data origin and link an email if applicable. Alternatively, enter a source reference or insert a scanned document as an image.
- Specify when the Retention period should begin for this account.
Document consent for subsequent use (data processing for advertising purposes)
- In the side navigation of the account or contact, go to the Use of personal data tab and select Data use for advertising purposes > New.
- Select an entry for Consent given by from the picklist and, if applicable, click on the button to link a mail. Alternatively, insert a scanned document as an image.
- Mark advertising purposes and channels for which you have been expressly granted ("Yes") or denied ("No") permission.
- Purposes and channels for which no customer decision is available remain unmarked. Declarations of consent cannot be changed, but can be replaced by a new declaration.
Enter further information on the account
- Assign user-defined and dated
 Keywords to the account on the General tab.
 - Go to the
 Added fields tab to enter different invoice and delivery accounts for this account.
 - General info on events, table reservationsM or invoices, which will pop up as soon as any of these is created for this account, can also be entered on the Added fields tab.
- Go to the
 Suggested items tab to enter any items preferred by this customer.
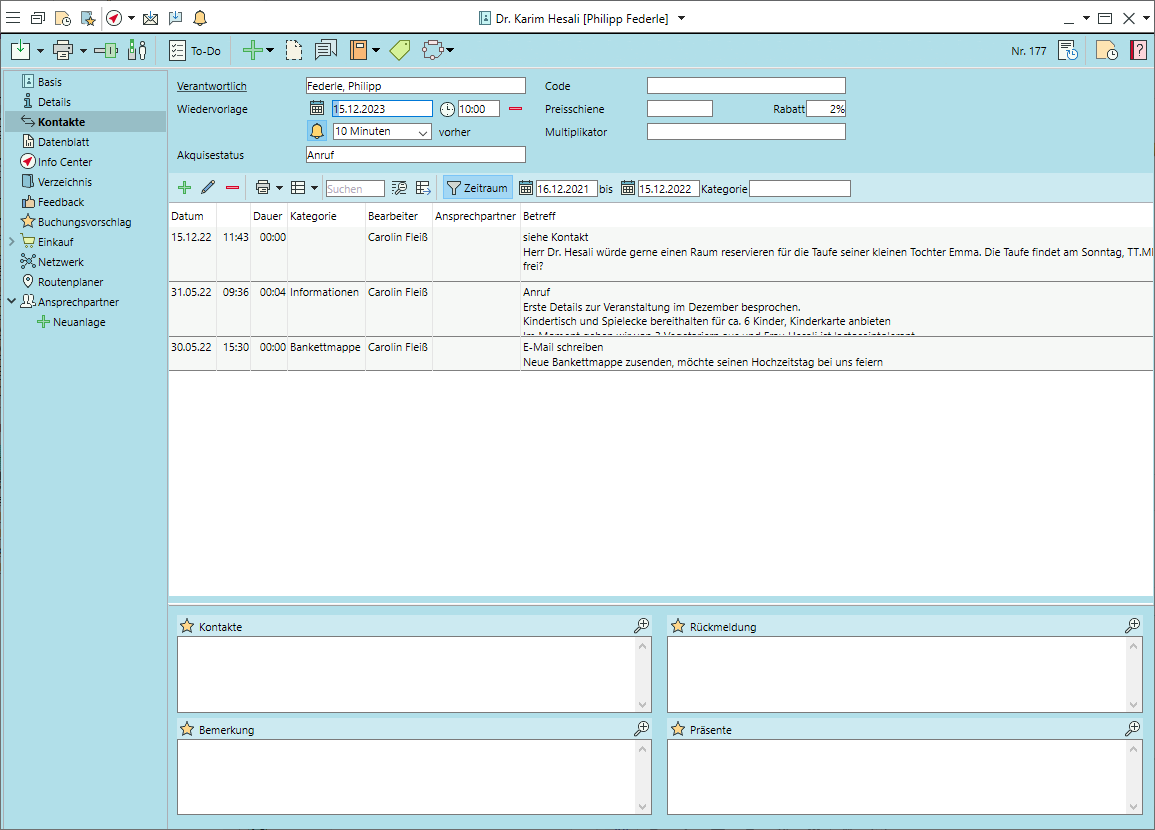
Create a contact noteM
- In the side navigation, click on
 Contacts > New.
 - Fill in the mandatory fields such as Subject, Category and Processing purpose .
- Enter details of the interaction in the Description field.
- Create a Follow-up which will be listed in the Info Center provided Contact notes have been anabled as
 Data source there.
Create records linked to an account
- Click on

 New to create any of the usual linked records such as events, appointmentsM or emails. The new records will be automatically linked to the account and prefilled with the account data.
 - Other records can be created from the account's
 Info Center provided they have been enabled as Data sources.
Search for records linked to an account
- Click on the expand triangle next to
 Events in the toolbar to view a list of all events, event segments, invoices etc. linked to this account
 - Click on
 Items for a list of all items booked for this account.
 - Find more linked records such as mail, appointmentsM etc. in the record's Info Center. Select your Data sources and filter by status, name or responsible as appropriate.
Remove accounts or contact persons from the search results
- In the side navigation, go to the General tab.
- In the toolbar,
 Deactivate obsolete accounts completely. Deactivate individual contact persons by selecting them in the list at the bottom of the page and clicking on the icon.
 - Mark accounts as
 Confidential if they should be accessible only for the responsible/owner.
 - Accounts or contact persons who no longer wish to be contacted and removed from account management in accordance with the GDPR can be placed on the internal
 Opt-out list. Remove the entire account or individual contact persons by clicking on the icon in the respective toolbar.
Module CRM plus, Appointments